
Summary
What this is
Creating a project is the first step in using Wranker. After you verify your email and sign in for the first time, Wranker automatically opens the Create Project flow so you can configure your website and immediately start your first Site Audit.
What you'll do
- Enter a Project Name.
- Enter your website Domain.
- Select the target Country.
- Confirm that a Site Audit should start immediately.
- Get redirected to the Site Audit page while the audit begins.
Where it starts
- Verify your email address.
- Sign in to Wranker.
- Open the Dashboard.
- Create Project modal opens automatically.
Prerequisites
Before you begin
- Sign in to your Wranker account.
- Verify your email address before accessing the dashboard.
Good to know
The Create Project dialog opens automatically the first time you reach the dashboard after email verification.
Where to Find It
- Verify your email.
- Open Dashboard.
- Create Project modal launches automatically.
Create Your Project & Start the First Site Audit
Verify Your Email
Complete email verification and sign in to access the dashboard.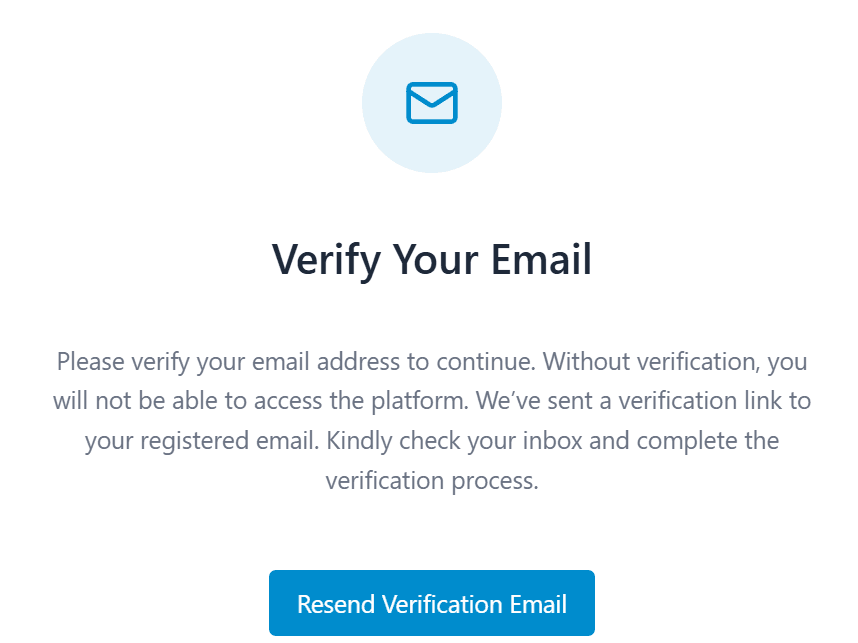
Capture: Verify Your Email
Open Create Project
The Create Project modal opens automatically after the dashboard loads.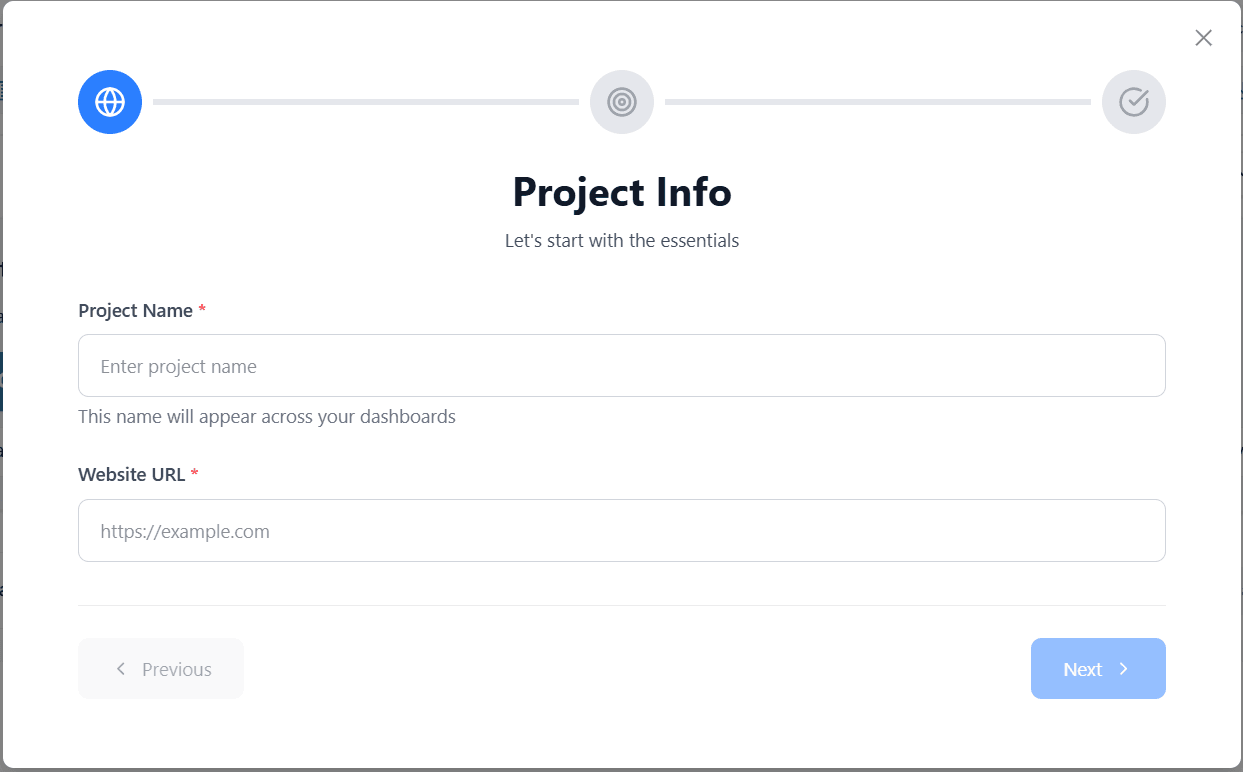
Capture: Create Project
Enter Project Name
Provide a clear project name that helps identify the website later.
Capture: enter project name
Enter Domain
Enter the website domain you want Wranker to audit and monitor.
Capture: enter website url
target keyword
Enter the target keyword for your website.
Capture: Enter target keyword
Select Country
Choose the primary country associated with your website.
Capture: select country
Create Project
Click the primary action button to create the project.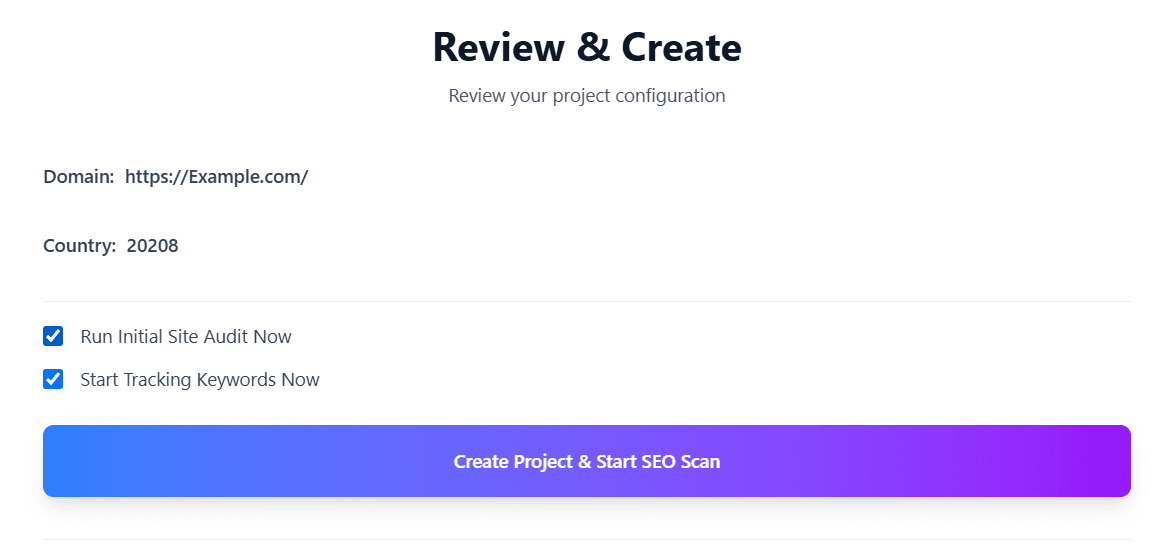
Capture: Create Project button
Start Site Audit
Confirm the prompt to immediately begin the first Site Audit.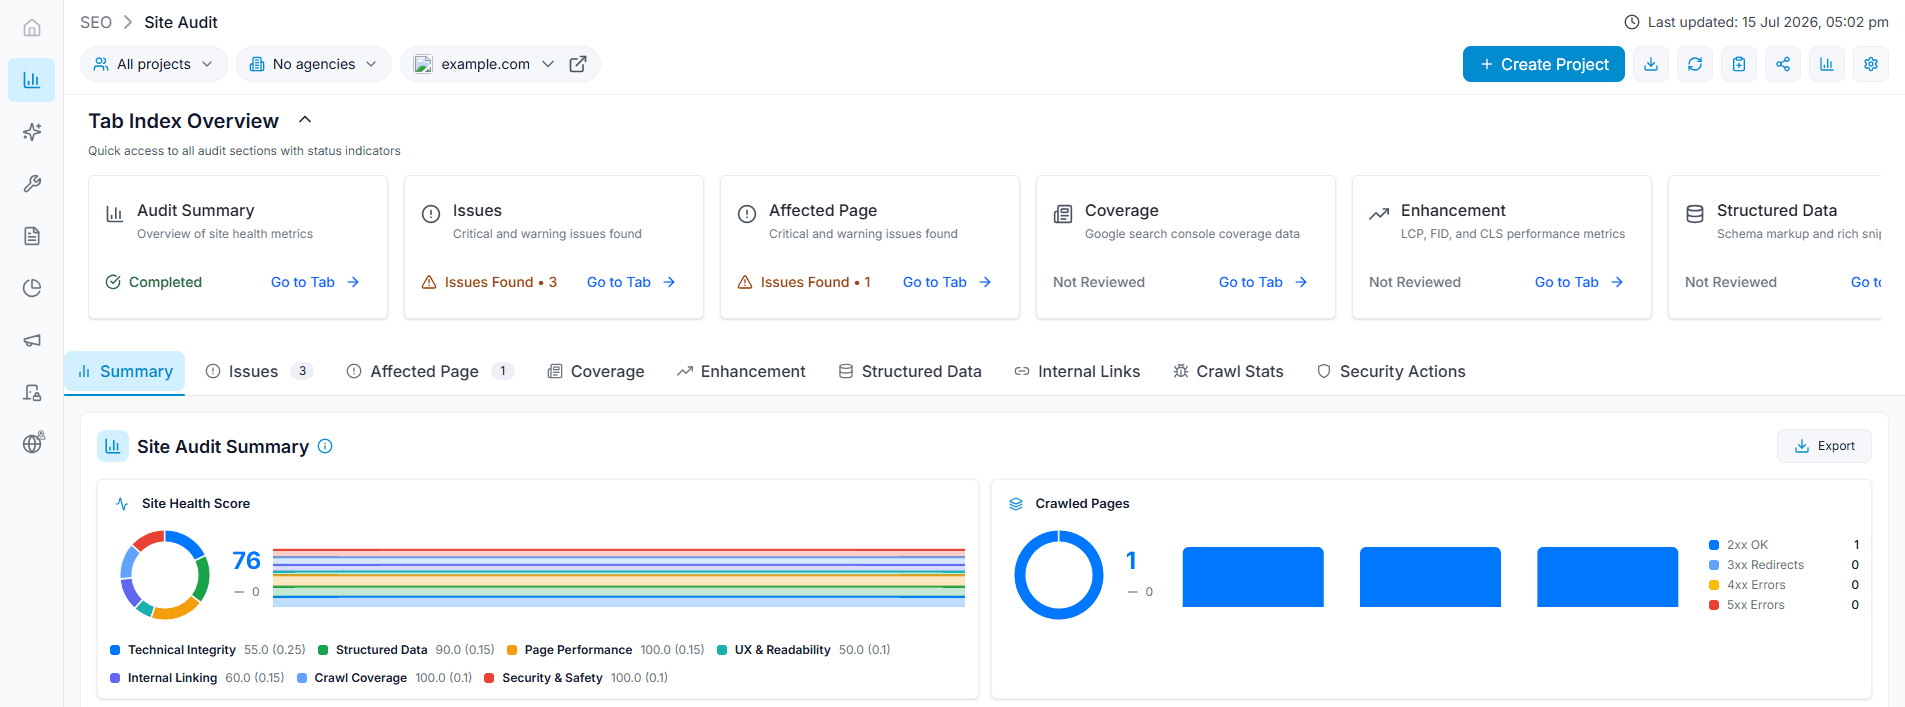
Capture: Start Site Audit
Tip
Double-check the website domain before creating the project because the Site Audit starts immediately after confirmation.
Expected Result
After completing the setup
- The project is created successfully.
- The selected domain and country are saved.
- The first Site Audit begins automatically.
- You are redirected to the Site Audit page to monitor progress.
Tips & Best Practices
- Use a descriptive project name for easy identification.
- Verify the website domain before starting the audit.
- Choose the correct country for accurate SEO reporting.
Consistent project names and country settings make reporting and project management easier as your workspace grows.